Your 6-Step Fast Start to Customer Engagement
1
Step 1: Create Your Emplorium Account
Your journey begins with setting up your dedicated Emplorium workspace.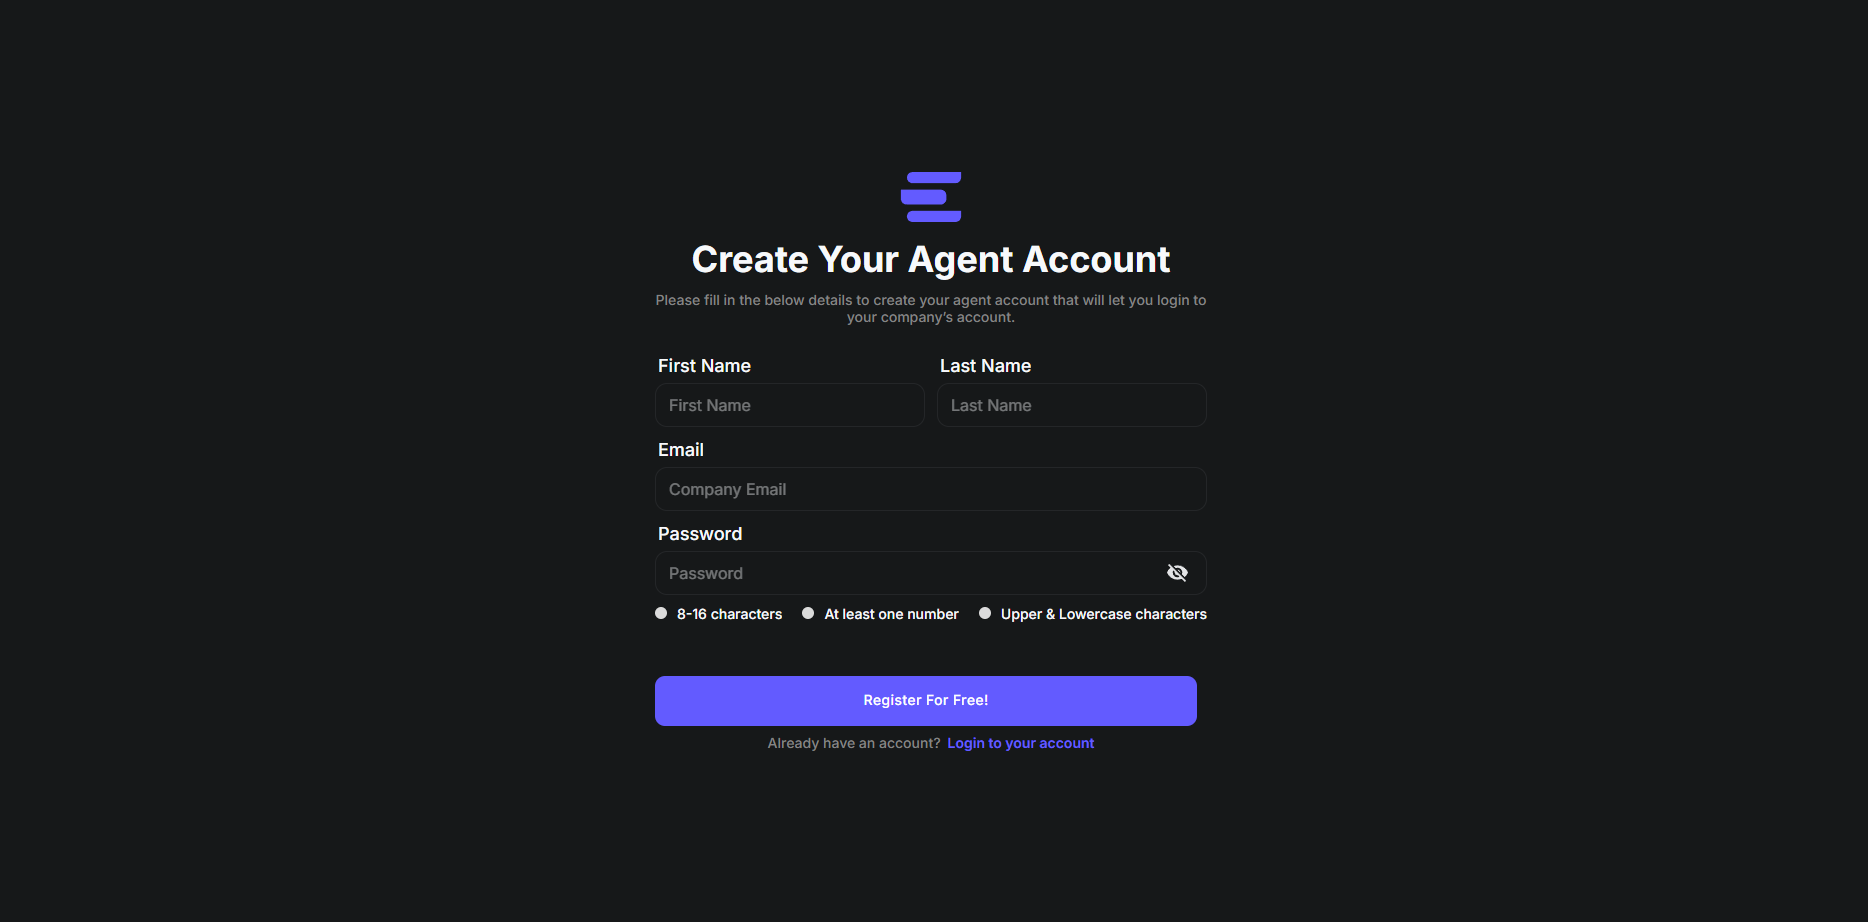
- Visit the Emplorium signup page: https://app.emplorium.io/signup
- Follow the prompts to enter your business details and register your new workspace.
2
Step 2: Customize Your Chat Widget
Tailor your chat widget to seamlessly match your brand’s aesthetic and messaging.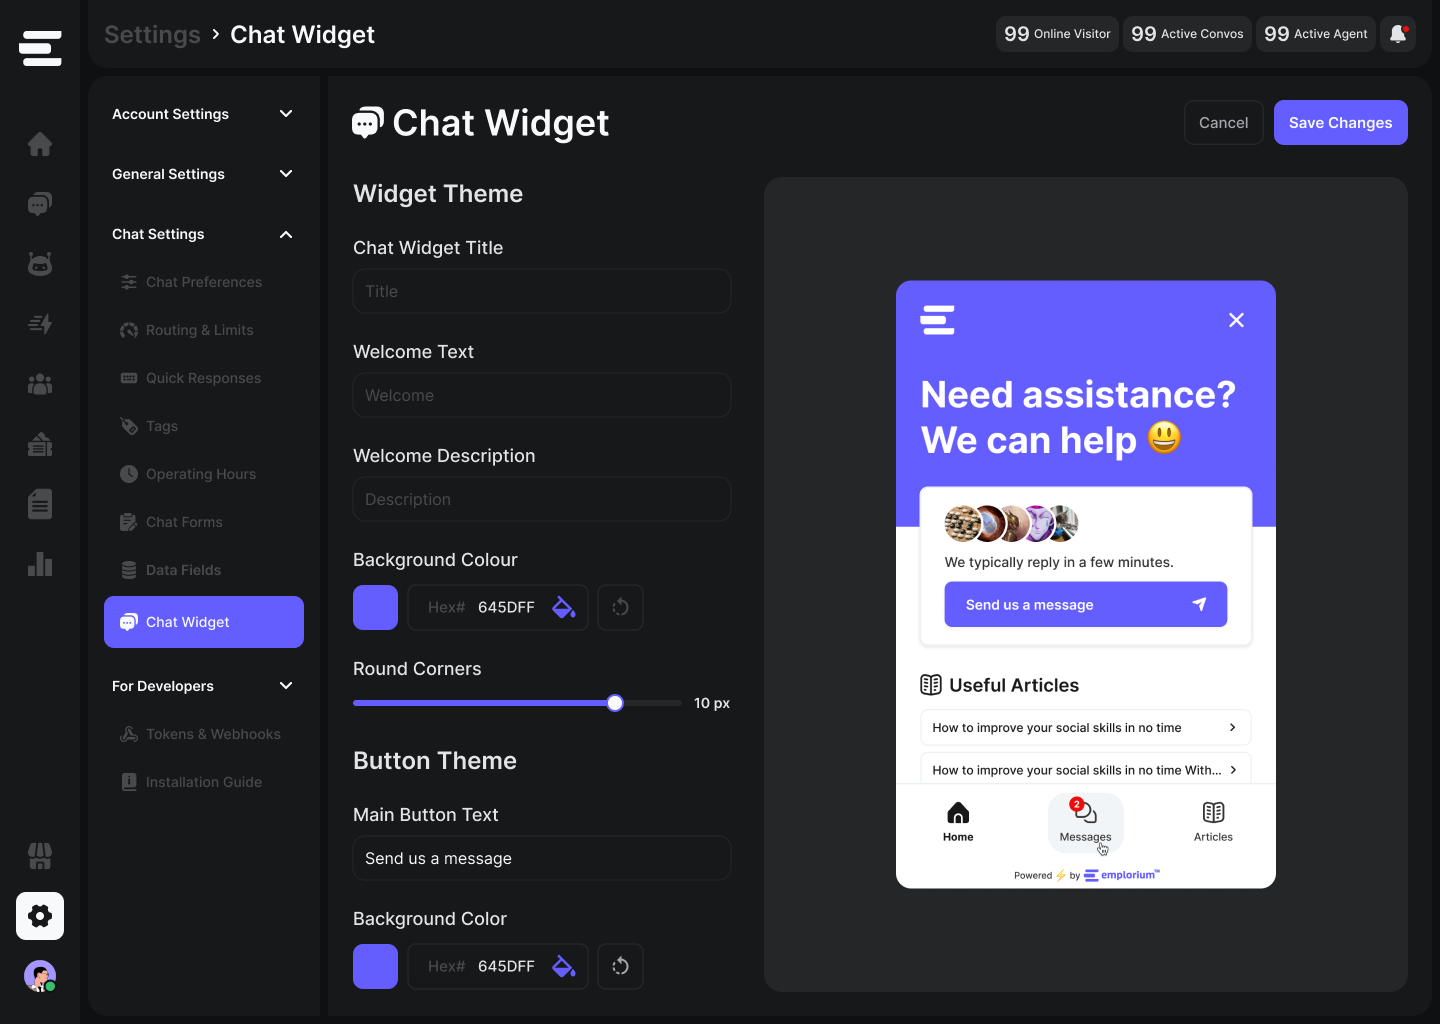
- Navigate to
Settings > Chat Settings > Chat Widget. - Personalize your widget’s appearance: adjust brand colors, button styles, corner radius, welcome messages, and display settings (e.g., light/dark mode).
3
Step 3: Install the Widget on Your Website
Make your Emplorium chat widget live by embedding it directly into your website’s code.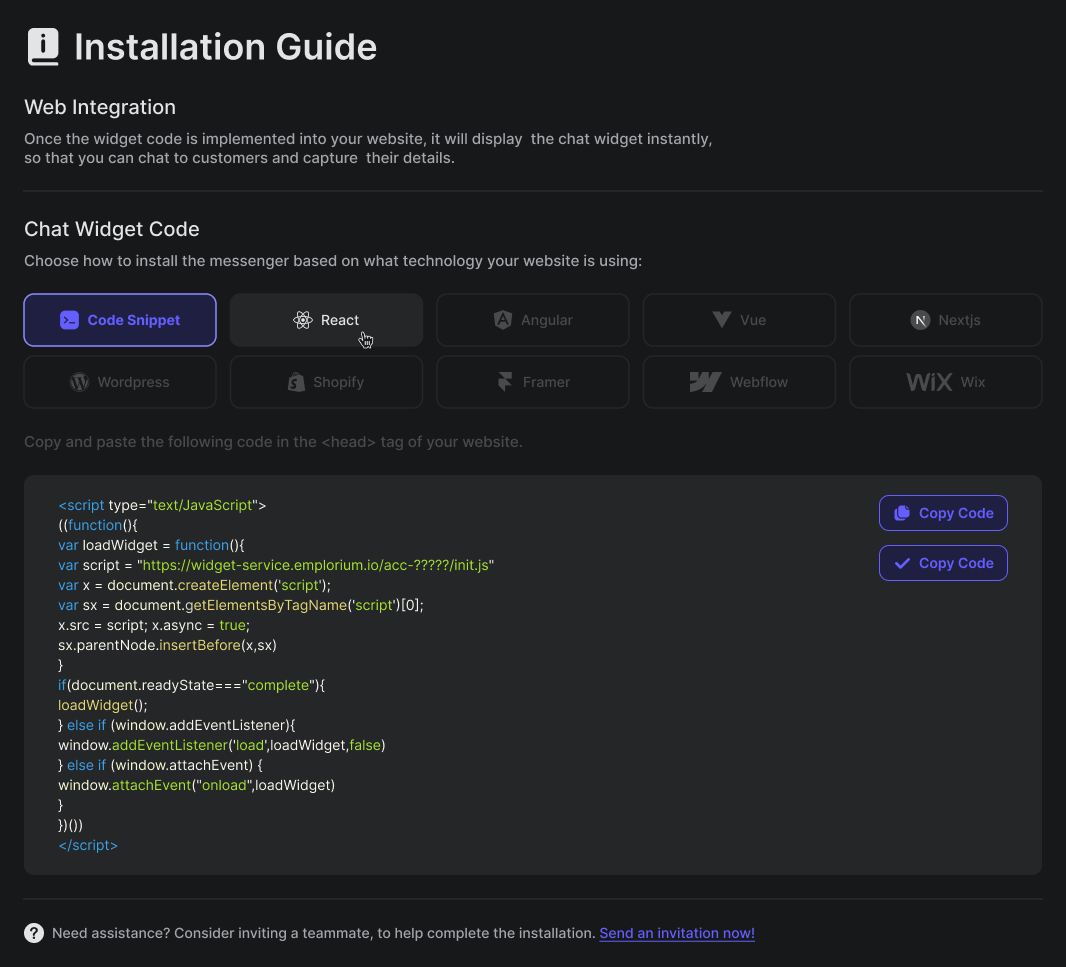
- Locate your unique embed code in
Settings > For Developers > Installation Guide
This is a small JavaScript snippet essential for the widget to appear on your site.
- Copy the provided code.
- Paste this snippet just before the closing
</head>tag of your website’s HTML on every page where you want the widget to appear.
4
Step 4: Invite Your Team Members
Bring your colleagues into Emplorium to start collaborating on customer conversations.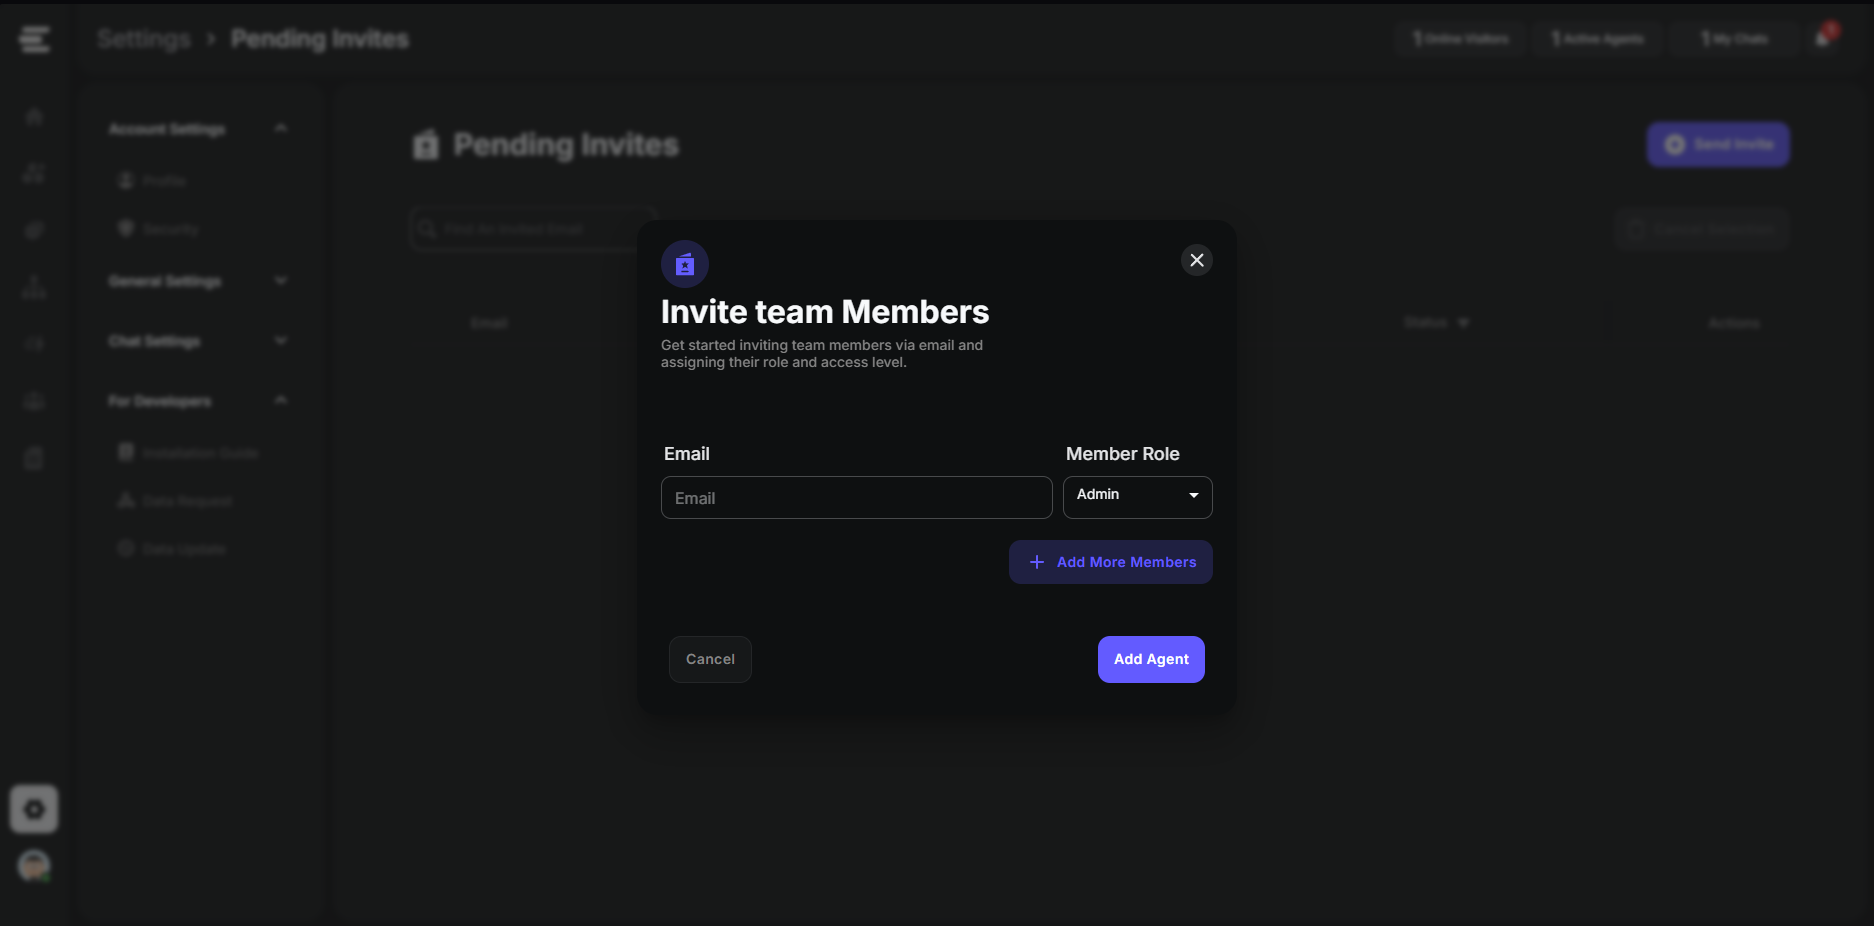
- Navigate to
Settings > General Settings > Pending Invites
You can also access the “Invite Teammate” option directly from Settings > General Settings > Teammates
- Click “Send Invite” and enter their email addresses
- Assign appropriate roles (e.g., Agent, Admin) to control their permissions within Emplorium.
5
Step 5: Set Up Aura AI
Empower your customer engagement with Emplorium’s intelligent AI agent for instant support and automation.
- Go to the Aura AI page from the main navigation
- Follow the initial onboarding steps to enable Aura AI. You can then begin training it with your knowledge base and Q&A to provide intelligent responses, perform intent recognition, and offer proactive customer support.
6
Step 6: Explore Your Dashboard
Get a real-time overview of your customer engagement activities.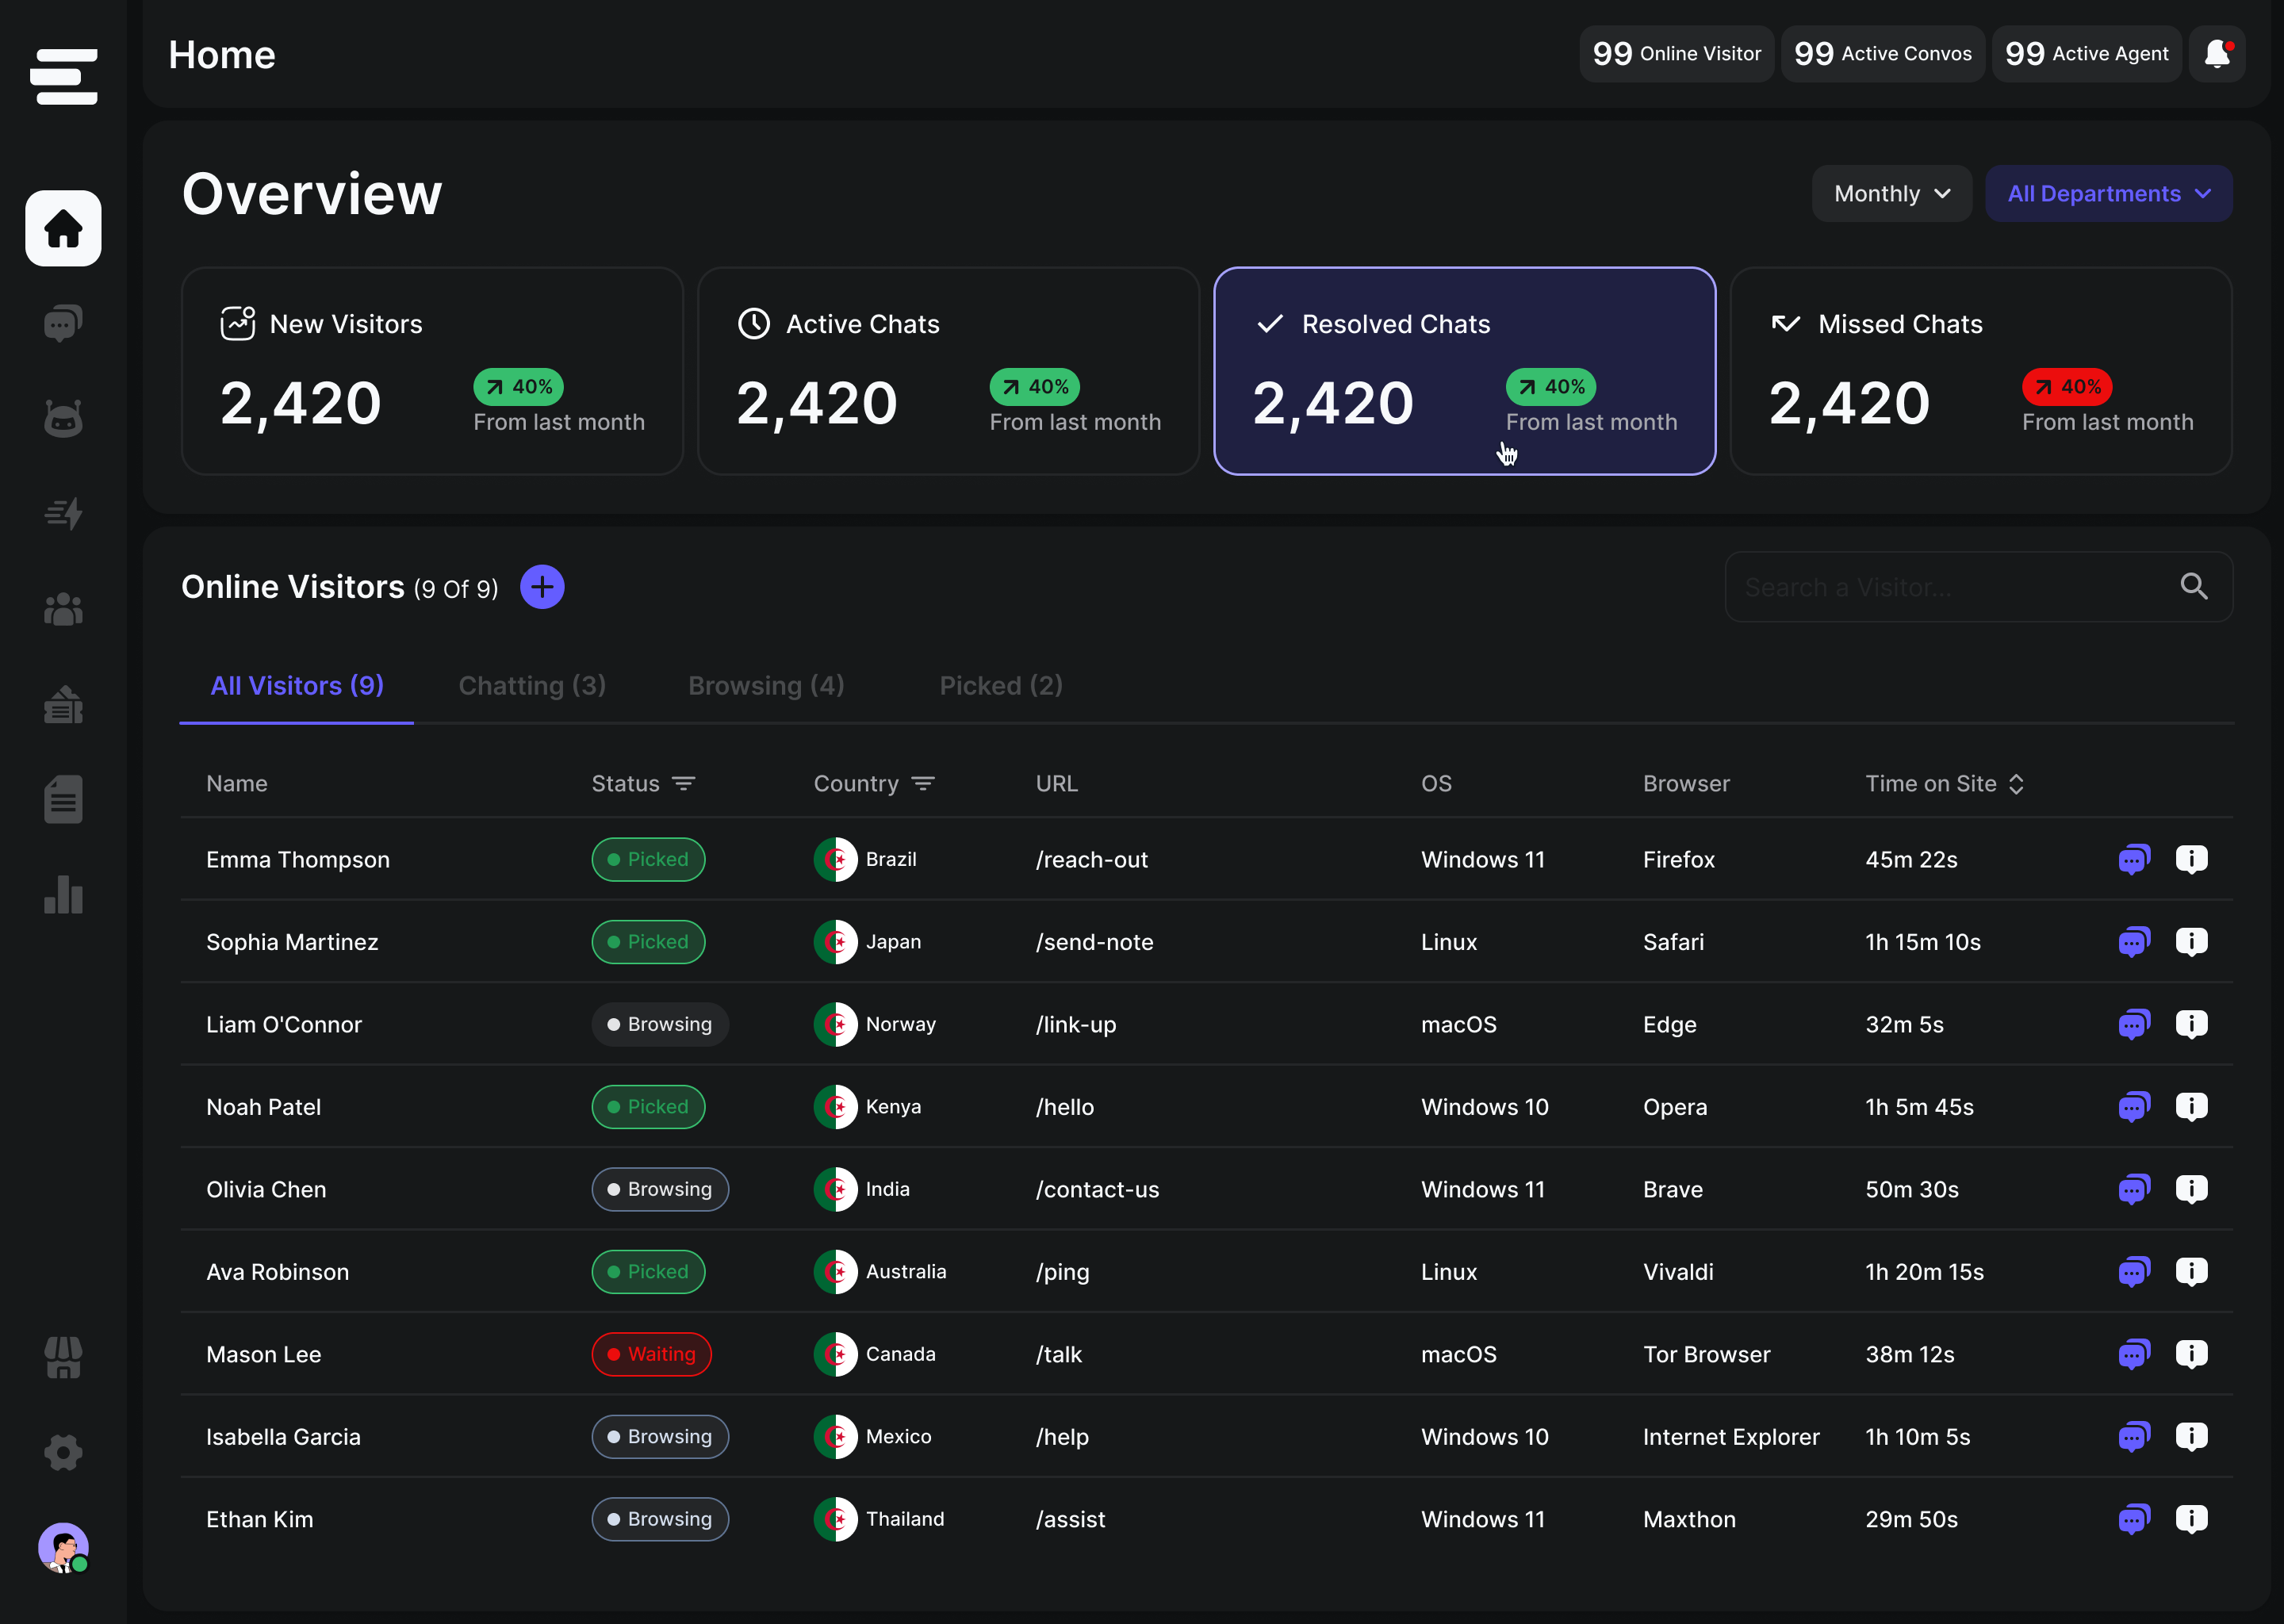
- From your Emplorium Dashboard (Home page), you can now view:
- Quick stats like New Visitors, Visitors in Queue, Resolved Chats, and Missed Chats.
- The main table of Online Visitors on your integrated website.
- Real-time insights into team activity and conversation status.
7
Step 7 (Optional): Assign Aura to responde to your visitors messages
You can enable the default Flow to give aura Access to visitors conversations and try it out yourself in the Virtual Visitor!
What’s Next?
Congratulations! Your Emplorium platform is now up and running. You’re ready to:- 🚀 Launch your first chat and engage directly with your website visitors.
- ⚡️ Add powerful automations via Triggers and Flows to guide customer journeys.
- 🧠 Further train your Aura AI with more data and documents to enhance its capabilities.
Need help or have questions? Our support team is always here for you!