1. Chat Widget Integration: Basic Snippet (HTML)
This is the most universal method for integrating the Emplorium chat widget into any standard HTML website.Where to Find Your Snippet Code
- Log in to your Emplorium account.
- Navigate to Settings > For Developers > Installation Guide.
- Copy the provided JavaScript embed code.
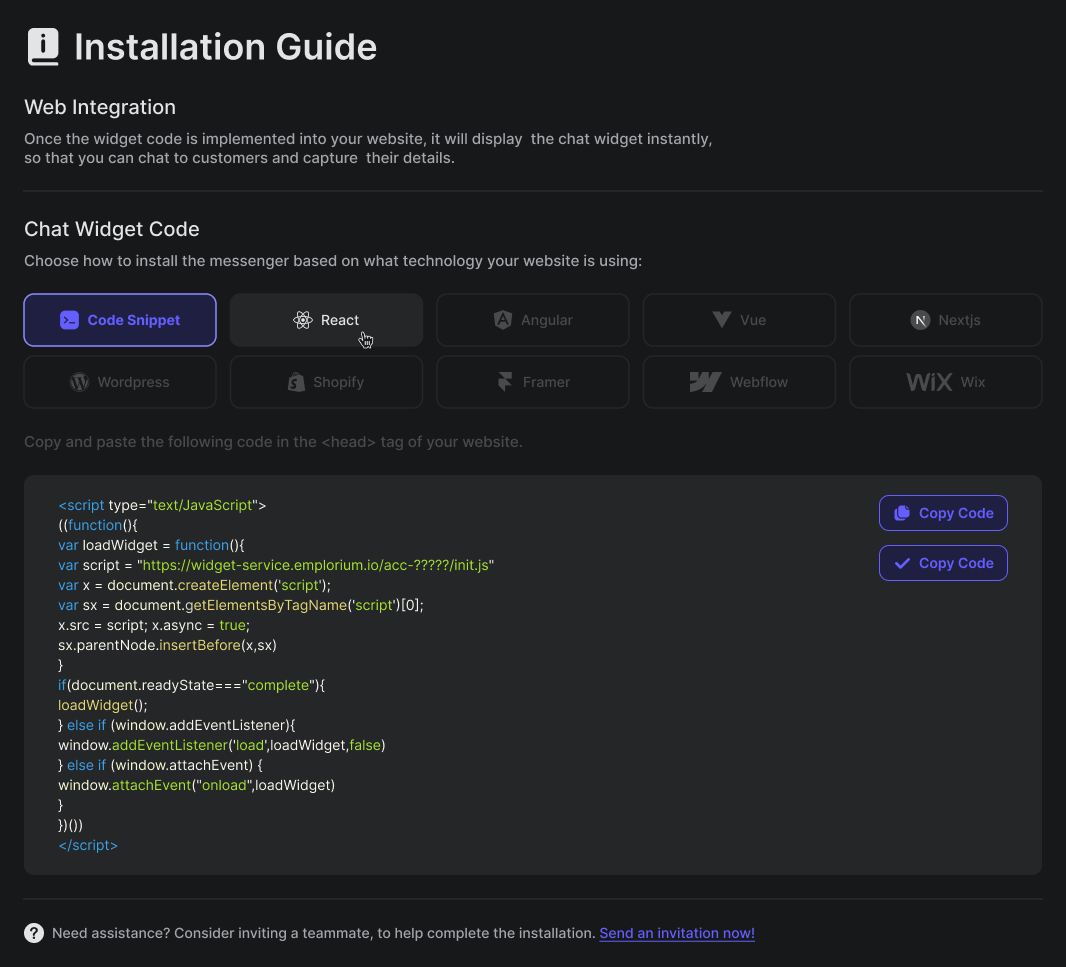
Snippet Code (HTML)
Placement
Paste this entire snippet just before the closing</head> tag of your website’s HTML file. This ensures the widget loads asynchronously without blocking your page content.
React Integration
Option A: Embed Script in public/index.html
- Open your React project.
- Edit
public/index.htmland add the snippet above just before</head>. - Save and run your app (
npm start). - Confirm widget loads at
http://localhost:3000.
Option B: Install Emplorium Choose your preferred package manager
Angular Integration
Option A: Script Embed
- Modify
src/index.html, insert widget snippet before</head>. - Run app with Angular CLI:
ng serve. - Verify widget at
http://localhost:4200.
Option B: SDK Installation
Usage:
Optional: ngsw-config.json Example
Vue.js Integration
Option A: Embed Script
- Insert the widget script in
public/index.htmlbefore</head>. - Run Vue CLI app:
npm run serve. - Verify widget loads at
http://localhost:8080.
Option B: Install SDK
Register in main.js
Usage in template:
Next.js Integration
Option A: Script File
- Create
public/EmploriumWidget.jsand paste widget script inside. - In your
_app.jsor layout:
Option B: SDK Installation
CMS & No-Code Platforms
For content management systems and no-code platforms, you’ll typically use the standard HTML snippet code and paste it into a designated “custom code” or “header script” section.WordPress
- Install a plugin like “Insert Headers and Footers” (or similar, from the WordPress Plugin Directory)
- Go to
Settings → Insert Headers and Footersin your WordPress admin dashboard. - Paste the basic HTML snippet code into the “Scripts in Header” section
- Save your changes and reload your WordPress site to see the widget.
Shopify
- Navigate to Online Store → Themes → Edit Code.
- Edit
theme.liquid. - Insert widget script before
</head>.
Webflow
- Go to Project Settings → Custom Code.
- Add the widget script to Head Code.
- Save and publish your site.
Wix
- Edit site → Add → Embed Code → Embed a Widget.
- Paste the widget script.
- Adjust position and publish.
Framer
- Open Framer and go to the Code tab.
- Add the widget script as a custom block.
- Save and publish your project.
Final Checklist for Successful Installation
Before concluding, double-check these common points to ensure your Emplorium widget is installed correctly:- ✅ The Emplorium widget script is placed correctly: before
</head>or</body>depending on setup - On the same page in emplorium’s integration settings, click the “Check Installation” button to check if emplorium detected the installation.
- ✅ Your unique Emplorium Account ID (
acc-9700din examples) is correctly inserted in the snippet or SDK component - ✅ Ensure that any
fetchstatus calls (if part of your snippet for reporting installation) are not being blocked by browser extensions or ad-blockers during testing (though this usually doesn’t affect widget functionality). - ✅ Check your browser’s developer console for any JavaScript errors after loading the page with the widget.
Need Help?
If you encounter any issues during the installation process, don’t hesitate to:- Contact Emplorium Support: Our team is ready to assist you.
- Consult Your Teammates: Share this guide with your development team for assistance.